GPS Map Update
Download GPS maps
GPS
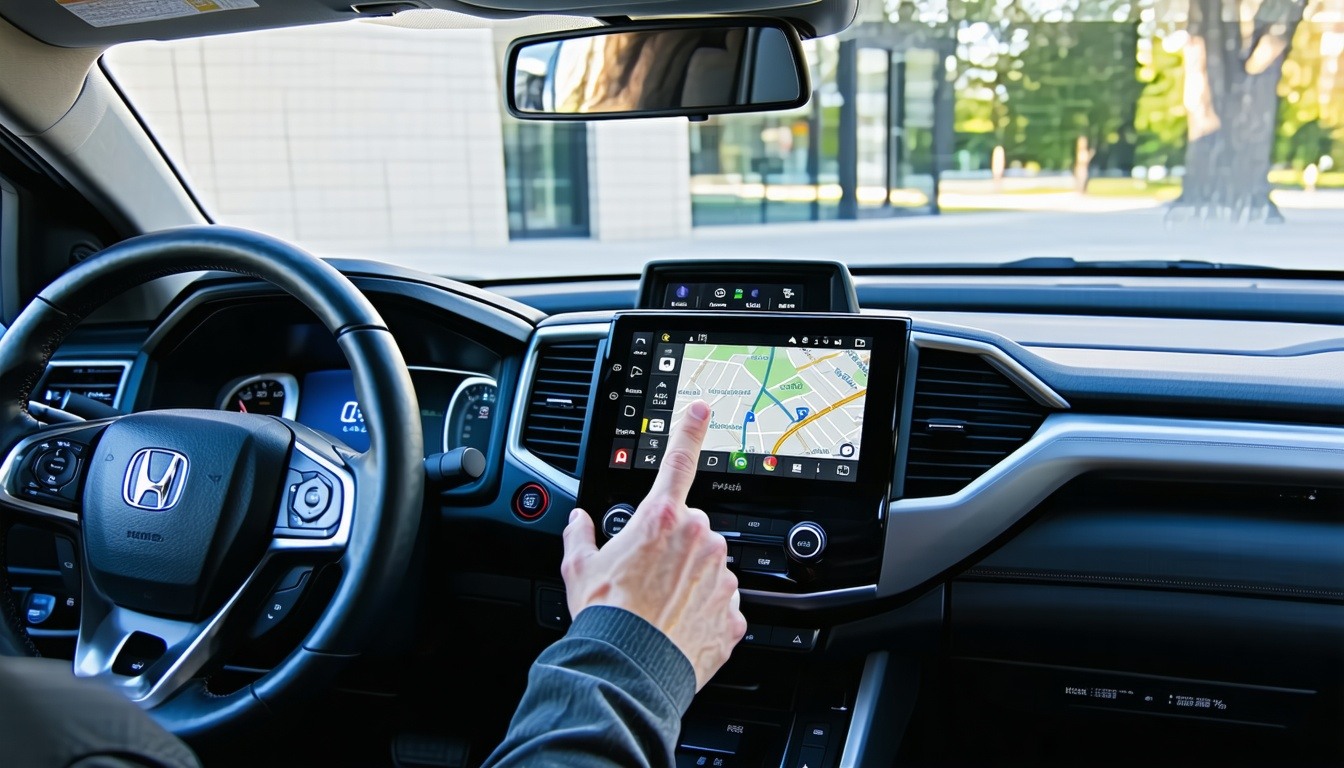
Updating your Honda Ridgeline's navigation system is easier than you think—follow our comprehensive guide to ensure you never miss a turn!
Why Updating Your Honda Ridgeline Map is Essential
Updating your Honda Ridgeline's navigation system is crucial for several reasons. First, it ensures that you have the most accurate and up-to-date map data, which can be the difference between arriving on time and getting lost. With new roads being constructed and old ones being modified, having the latest map data eliminates the guesswork.
Additionally, an updated navigation system can improve your overall driving experience. Enhanced route suggestions, updated points of interest, and improved traffic data can make your journey smoother and more enjoyable. It also ensures that you are utilizing the full potential of your vehicle's technology.
What You Need Before You Start the Update
Before you begin the process of updating your Honda Ridgeline's navigation system, there are a few essential items you will need. Firstly, you will need a USB drive with at least 16GB of free space. This drive will be used to transfer the update files from your computer to your vehicle.
You will also need a reliable internet connection to download the update files from the Honda navigation update website. Make sure your vehicle is parked in a safe location where you can leave it for a period of time, as the update process can take up to an hour. Finally, ensure your vehicle's battery is sufficiently charged or keep the engine running during the update to avoid any interruptions.
Step-by-Step Instructions for Updating Your Map
Step 1: Visit the Honda navigation update website and enter your vehicle's VIN to check for available updates. Download the update files to your computer.
Step 2: Insert the USB drive into your computer and copy the downloaded update files onto it.
Step 3: Start your Honda Ridgeline and insert the USB drive into the USB port. The navigation system should automatically detect the update files.
Step 4: Follow the on-screen prompts to begin the update process. This may take up to an hour, so be patient and do not turn off the vehicle or remove the USB drive during the update.
Step 5: Once the update is complete, the system will prompt you to remove the USB drive. Verify that the new maps are installed and functioning correctly.
Common Issues and How to Troubleshoot Them
One common issue during the update process is the system not recognizing the USB drive. Make sure the USB drive is formatted correctly and contains the necessary update files. Try using a different USB port if the issue persists.
Another potential problem is the update process freezing or taking too long. Ensure your vehicle's battery is fully charged or keep the engine running to avoid interruptions. If the update fails, restart the process from the beginning and follow the steps carefully.
Keeping Your Navigation System Updated: Tips and Best Practices
Regularly check for navigation updates on the Honda website to ensure your system is always up-to-date. Aim to perform updates at least once a year or whenever major changes are made to the road network in your area.
Make it a habit to back up your navigation data before starting any updates. This way, if something goes wrong, you can restore the previous version without losing any critical information. Finally, always follow the manufacturer's instructions to avoid damaging the system or causing any other issues.
Stay up-to-date with the latest GPS firmware, software, and map updates. Find guides, downloads, and tips at GPS Update Hub for all your navigation devices.